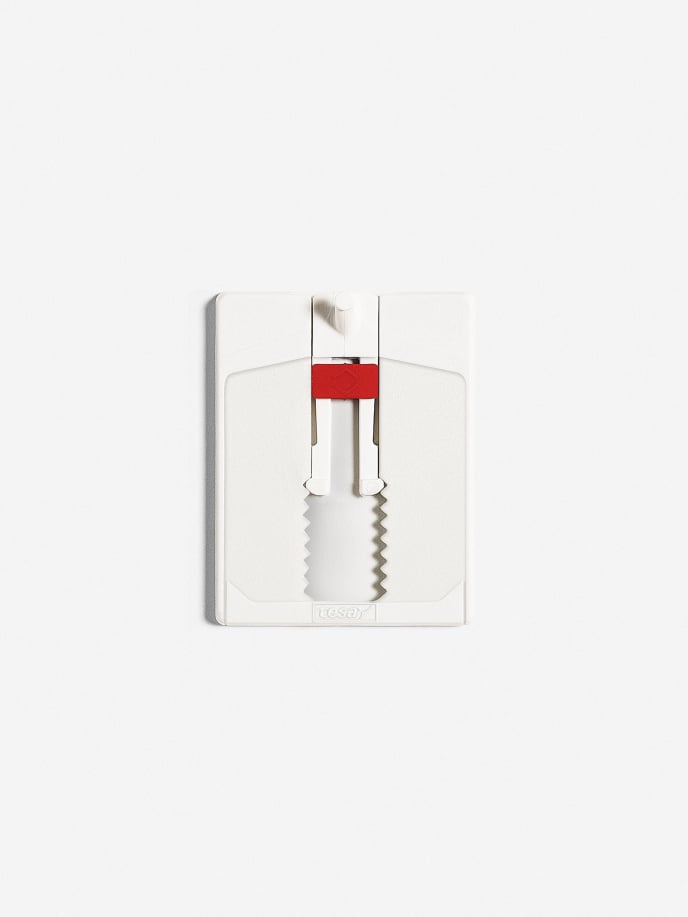
Step-by-step guide: how to use Tesa Powerstrips
Tesa Powerstrips are a handy, easy-to-use alternative to traditional screws, nails, and mounting hardware. They are perfect for renters who can't make permanent changes to their living space or for anyone who wants a convenient and mess-free mounting solution. In this article, we'll take a closer look at how to use Tesa Powerstrips.
Prepare the surface
Before applying a Tesa Powerstrip, it's important to prepare the surface. The surface should be clean, dry, and free of any dust or debris. If the surface is dirty or dusty, use a damp cloth to clean it, preferably with alcohol or silicone-free glass cleaner and let it dry completely.
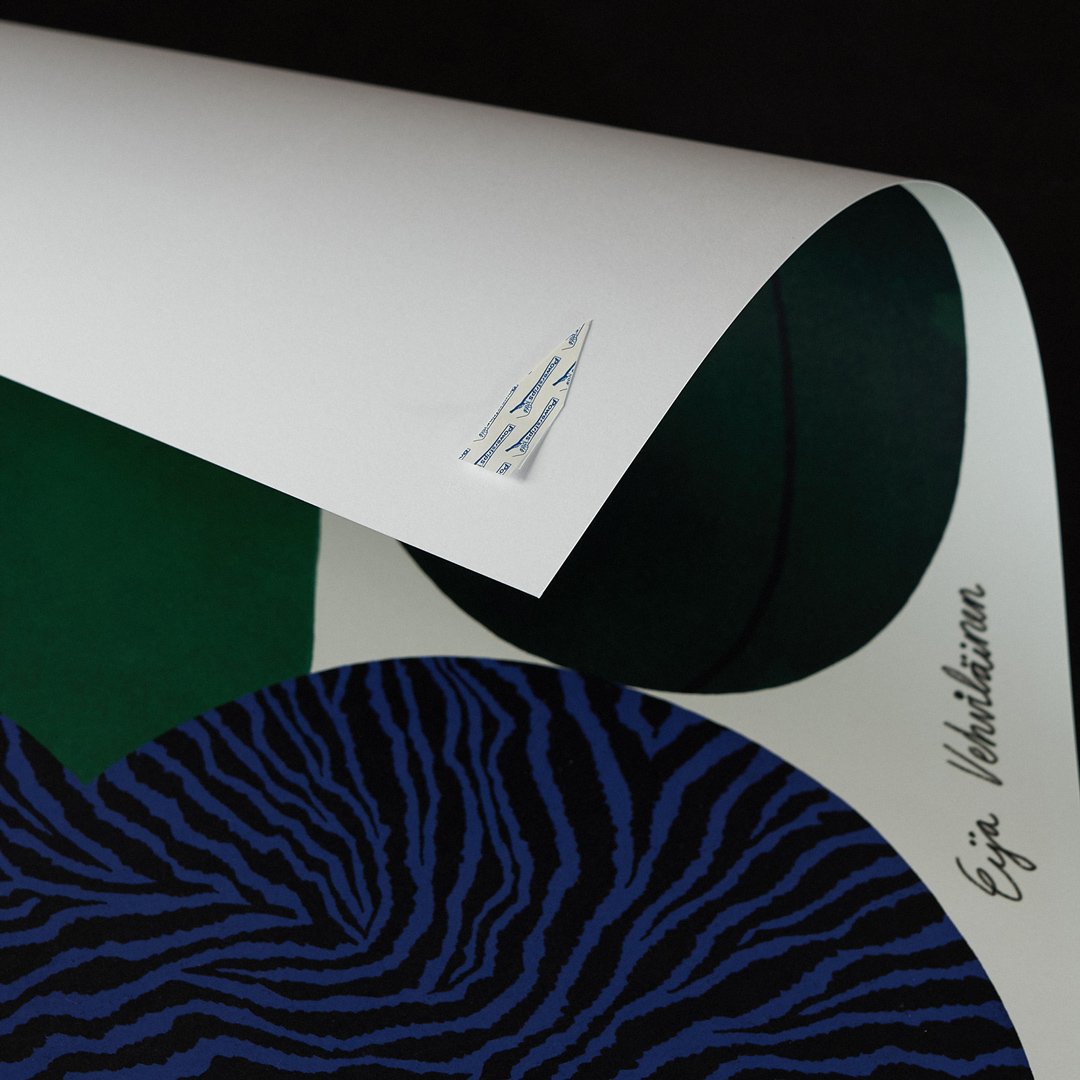
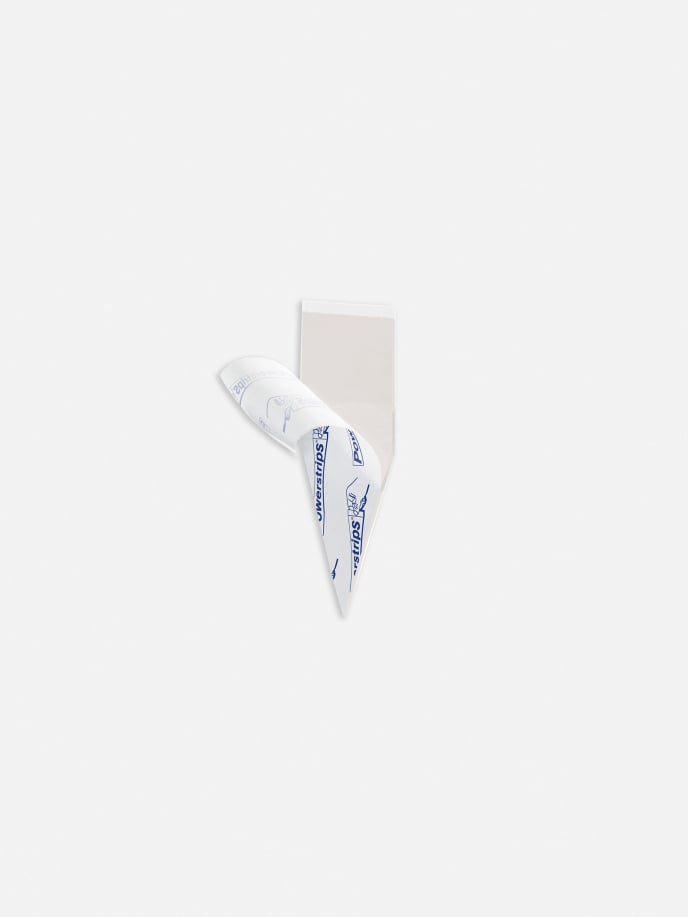
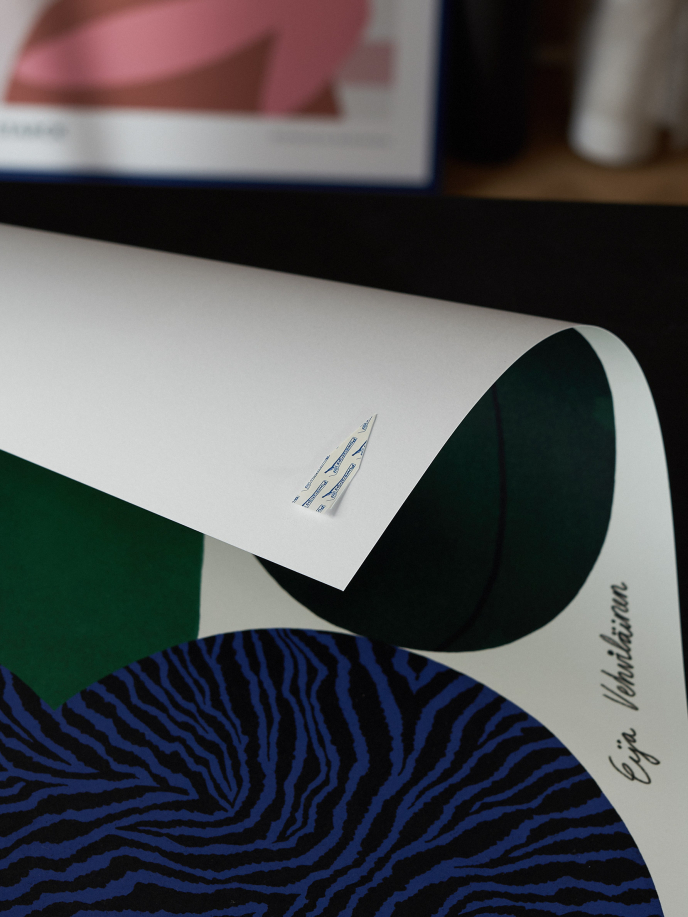
To apply a Tesa Powerstrip:
- Remove the protective backing from one side of the strip.
- Apply the strip to the back of the object you want to hang, pressing it firmly into place for at least 5 seconds.
- Remove the protective backing from the other side of the strip and press the object against the wall or surface where you want to mount it for at least 5 seconds.
- Apply firm pressure to ensure a strong bond and make sure the tab can be accessed for removal.

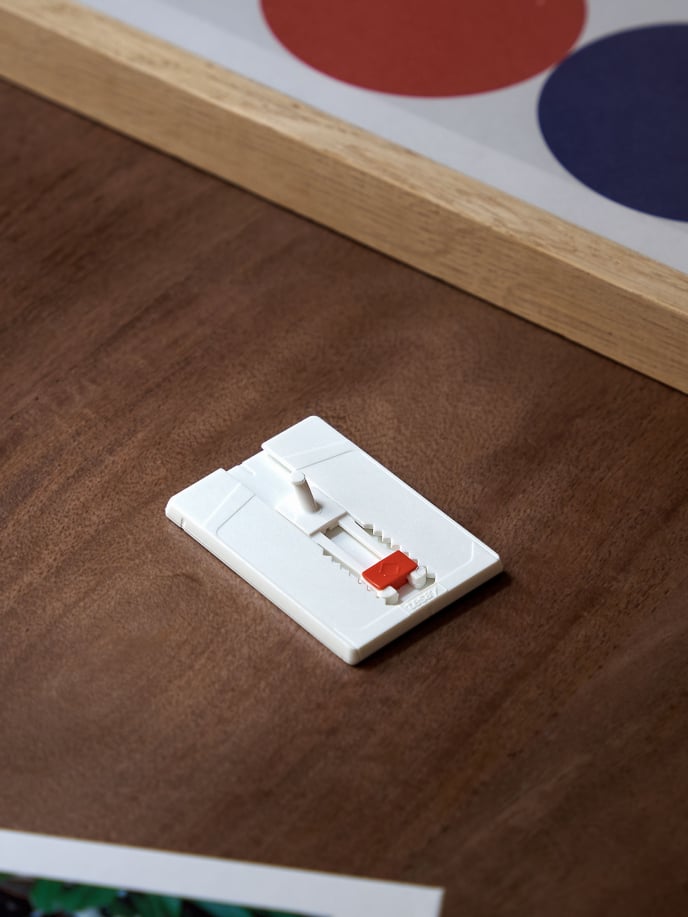
Remove the object
If you ever need to remove the object you mounted with a Tesa Powerstrip, gently pull it away from the wall or surface with a steady motion. The Powerstrip will release its grip and come away cleanly without leaving any residue or damage to the wall or poster.
Tesa Powerstrips are a versatile and convenient solution for mounting objects without the need for screws, nails, or other hardware. By following these simple steps, you can use Tesa Powerstrips to mount a variety of objects securely and easily.
Shop frame accessoires
Mi Cuenta
¡Regístrate para abrir una cuenta personal y mejorar tu experiencia de compra!
Crea y gestiona listas de deseos para futuras compras o ideas de regalos
Sigue el estado de tus pedidos y accede al historial de pedidos
Recibe nuestro boletín de noticias con actualizaciones sobre nuevos productos y ofertas especiales